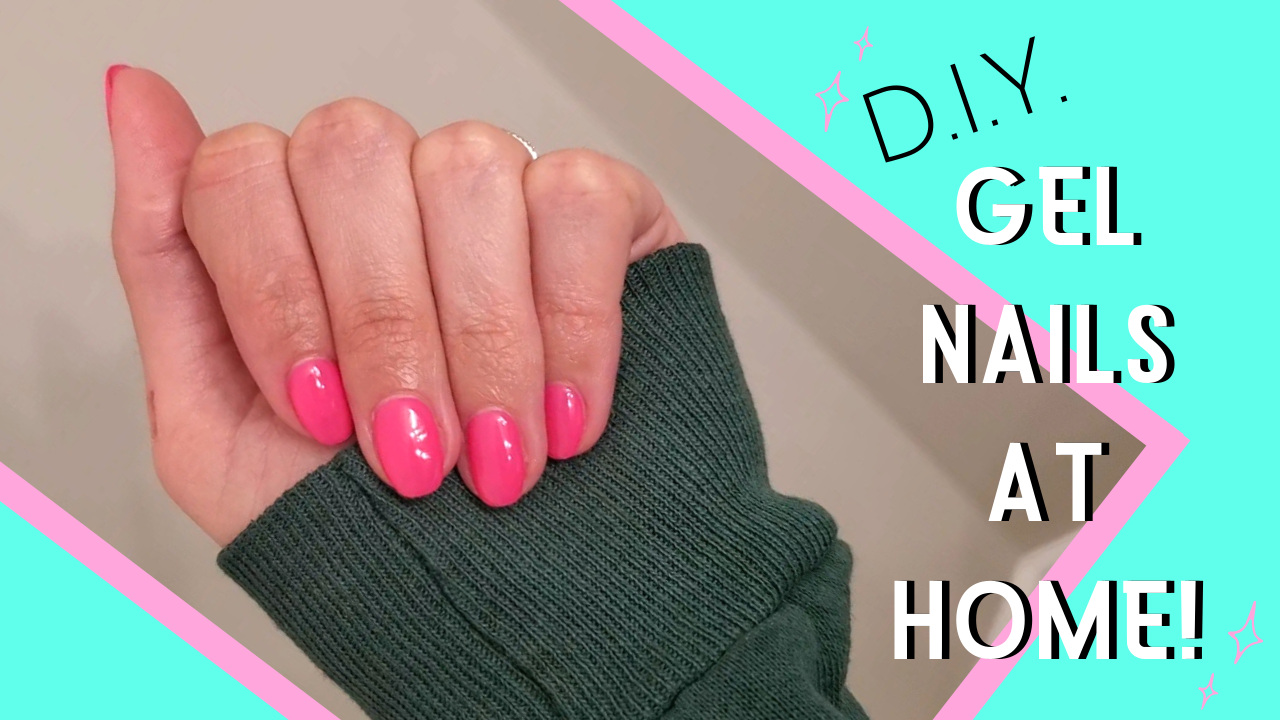
How to do Gel Nails (DIY Gel Nails At Home)

Alright..so it has been awhile since I posted any projects and this one is going to be a bit different! I decided since there are only so many home projects I can do in one house, I was going to start posting about any little DIY project that I do because…why not!?

I created a video on how I do my gel nails at home so if this is something you are wanting to try at home or just want to watch go check it out and let me know what you think in the comments! I am planning on creating another video here in a couple weeks when it is time to take these bad boys off so stay tuned if you are interested.


HOW LONG DO THE GEL NAILS LAST?

Minimum of 10 days – I do a lot of cleaning, diy projects, sports etc. and my gels last a minimum 10 days.. max could be closer to 3 weeks but the regrowth is noticeable at that point to I usually redo my gels every 2 weeks


I will give you a breakdown of the steps I take and the supplies I use, here we go!


Step 1: Prep!

Prepping your nails before you do your gels is very important because we want them to last as long as they can, right!?

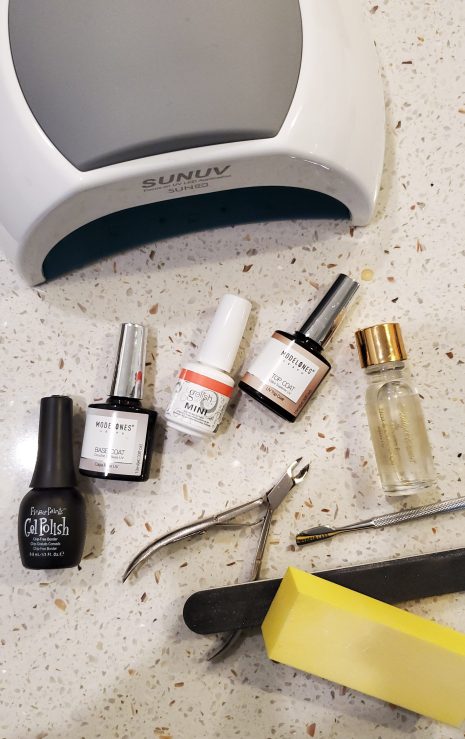
Supplies needed for prepping your nails for gels:

  • Cuticle remover gel
  • Cuticle nippers
  • Buffer tool
  • Cuticle pusher
  • Nail file

Once you have your prepping supplies follow these easy steps:

  1. File nails to desired shape and length
  2. Apply cuticle remover/push back cuticles
  3. Gently nip away pushed back cuticles
  4. Lightly buff nail surface
  5. Rinse hands with water and dry


Step 2: Gel Application!

Now that the prepping is over it is time for the gel application!

Supplies needed for the gel nail application:

  • UV/LED Gel light
  • Chip free nail bonder
  • Gel base coat
  • Gel polish (color of choice)
  • Gel top coat (matte or gloss)

IMPORTANTIt is very important to know what type of light is required for your gel polish. When I was picking out my light I chose a LED & UV light so that I was able to use a gel polish that required either of the light types to cure. The polish bottles should say which light source it requires to cure so just keep that in mind when shopping for supplies!

A FEW TIPS BEFORE GETTING STARTED WITH THE STEPS BELOW

*ONE HAND AT A TIME – do the whole gel process start to finish one one hand then repeat those steps on your other hand. The gels will be tacky until finished so we want to stay away of any fuzz or hairs or anything sticking to the nails. Maybe have a pair of tweezers nearby in case you have to pick something off of your nail.

*KEEP IT ON THE NAIL – Try to avoid painting anything on your skin around your nail or the cuticle. If you get some paint on your skin simply wipe it away with your other hands thumb nail BEFORE you cure the polish!

*CURE TIME – The polish I am using requires different cure times but I always cure for a minimum of 60 seconds (there is a timer on my light) Always check the cure requirements for your polishes though!

Once you have your gel application supplies follow these easy steps:

  1. Paint the chip free bonder on your nails (no cure needed)
  2. Paint a thin layer of BASE COAT
  3. Cure minimum of 60 secs – (double check polish cure time requirements)
  4. Paint 1st thin layer of GEL POLISH (color of choice)
  5. Cure minimum of 60 secs – (double check polish cure time requirements)
  6. Paint 2nd thin layer of GEL POLISH (same color)
  7. Cure minimum of 60 secs – (double check polish cure time requirements)
  8. Paint a thin layer of TOP COAT (matte or gloss)
  9. Cure minimum of 60 secs – (double check polish cure time requirements)

You can get creative with the top coat and do two at one time ex: paint a layer of top coat, letting it cure then painting a diagonal section of matte coat on top of that and letting it cure. 

TIP: If your top coat wears down or you need a different polish color for an event and it’s not time to take the gels off just yet or you just don’t like your gel color once it’s on … it’s ok! It has all happened to me before – I have also used a lighter gel color that started yellowing and even a gel that with 3 coats still looked too see through – so I just used a regular nail polish to paint on top of my gels if they were in good enough condition –  that way I still had the strength of a gel nail but just with a different color!


STEP 3: Finish

Wahoo! We are pretty much done at this point but to make your nails look even better once you are done with the gel process do the following…

  1. Wet a cotton ball with rubbing alcohol and wipe each nail with it. This removes any sticky residue left over from the gels.
  2. Massage cuticle oil (or lotion) into your cuticles and the skin around your nails. This leaves you with a fresh polished look!


Well, that’s how I do my gel nails at home – I save a bunch of money and I know that my nails are going to look the way I like them when I am finished! It was a bit of an investment up front to buy the light and my polish but it paid off after about 2 or 3 times of me doing my own gels. My husband sure is happy I am saving us money from my visits to the nail salon :). I have been doing my own gels for years so I have had some practice. I am not saying my way is the best way it is just what I like and what works best for me so I wanted to share my process with all of you in case this can help in any way!

Thank you for checking this out and stay tuned for my gel nail removal video coming soon!

———–
 

How to Paint Kitchen Cabinets| DIY for under $150!

Well, before I started this project I read a bunch of blogs and watched a bunch of videos on how to paint cabinets on your own. Everyone had slightly different ways of doing this project so I am going to share the steps I took and add my thoughts and suggestions along the way. Here we go!

  • Time needed for this project: 2 Days 
  • Cost for my kitchen cabinet makeover: Just under $150 (see breakdown below with links to products used)

Disclaimer: I am not getting paid to promote any of these products

My List of Purchases…

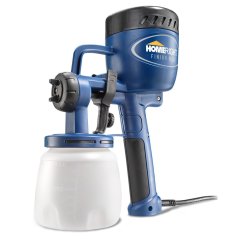
Paint Sprayer


20180201_143616

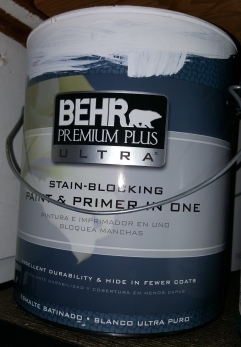
BEHR Premium Plus Ultra – 1 gal (Home Depot)
 

31-1cMbeuoL._PIbundle-25,TopRight,0,0_SX385SY500SH20_


714DW9jMB3L._SL1000_

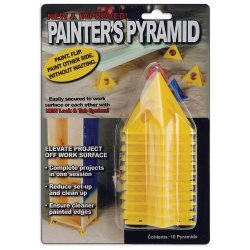
Used these to set the cabinet doors on to dry


klean-strip-paint-thinner-solvents-cleaners-qwn285-64_1000


The Before

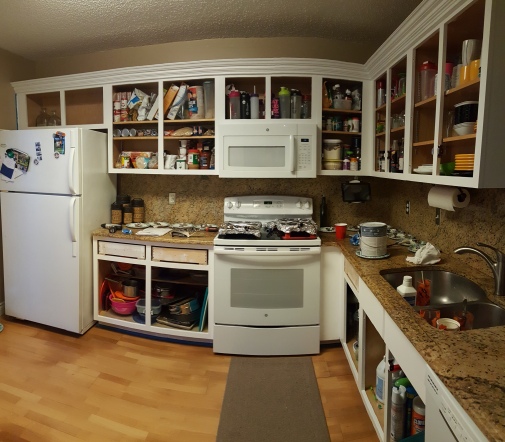
Here’s a few before photos of the kitchen cabinets…

I should have taken an up-close photo of the cabinets because the bottom cabinets looked worn before, same with the handles/hardware. Also, I couldn’t stand that the cabinets were almost the same color as the floor and just didn’t look right with the countertop and backsplash! Blah. The florescent lighting doesn’t help either but that isn’t on the to-do list anytime soon. 🙂


Take it all off!

Alright, so first I took all of doors and drawers off, that was easy. I used my drill and as I took the doors and draws off I labeled and set aside the hinges and screws so they could go right back where they belonged when it was time to put everything back together. See the photos below…


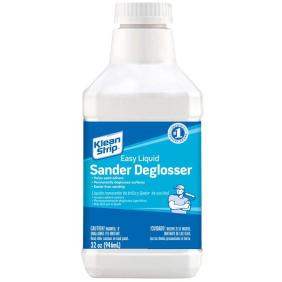
Don’t mind the not-so-organized interior of the cabinets haha. Once all of the doors and drawers were off the fun part started. (kidding it was tedious) I washed all of my cabinets with dawn dish soap and warm water with a rag to remove any grease, then I scrubbed in the sander deglosser on everything I was going to paint…doors, drawers, and frames. I did that process twice.

MY THOUGHTS ON THIS STEP: I used the sander deglosser INSTEAD of sanding  because I saw in a few blogs and videos it was used instead of sanding…BUT if I were to do this all over again I would have taken the extra time to sand everything down. I feel like the paint will stick better over time that way. So far, a few months later, the paint is holding up very well but I personally would prefer sanding instead of only using the sander deglosser if I did it again.


Are you keeping your hardware or switching it out?

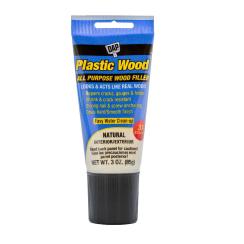
The original hardware had two holes, I could have put the same handles back on but they were gross so I bought new ones and the ones I bought just needed one hole so…I used wood filler to fill the unused holes. On the cabinet doors I left the holes that were closer to the corners and for the drawers I filled both and drilled new holes in the center. Once it dried I sanded until flush with the surface.

Note: I did not add the wood filler to the list because not everyone will need it but here’s what I used… ($4 at Home Depot)

natural-dap-patching-repair-00580-64_1000


Set Up Your Zones

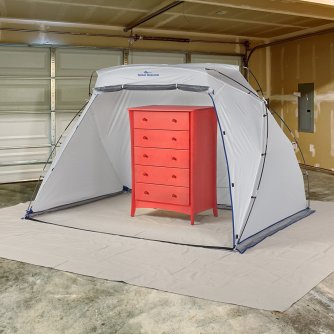
Before I started painting I set up a “Paint Zone” and a “Dry Zone”. I do not have pictures of my paint zone but I used painters plastic and duct tape to make a backdrop on my screened-in patio. (Did this outside so the fumes stayed out there and I didn’t get paint on anything inside) If you do not have painters plastic or anything to make a backdrop you can always purchase something like this (the one below comes in 2 sizes – large is pictured – link to example)…

81wek11i77L._SL1500_

I used an old sawhorse to set the doors and drawers on when painting. (The sprayer instructions will show you the way to hold and spray – the sprayer shouldn’t be tipped at all so all objects being painted need to be upright NOT FLAT!)

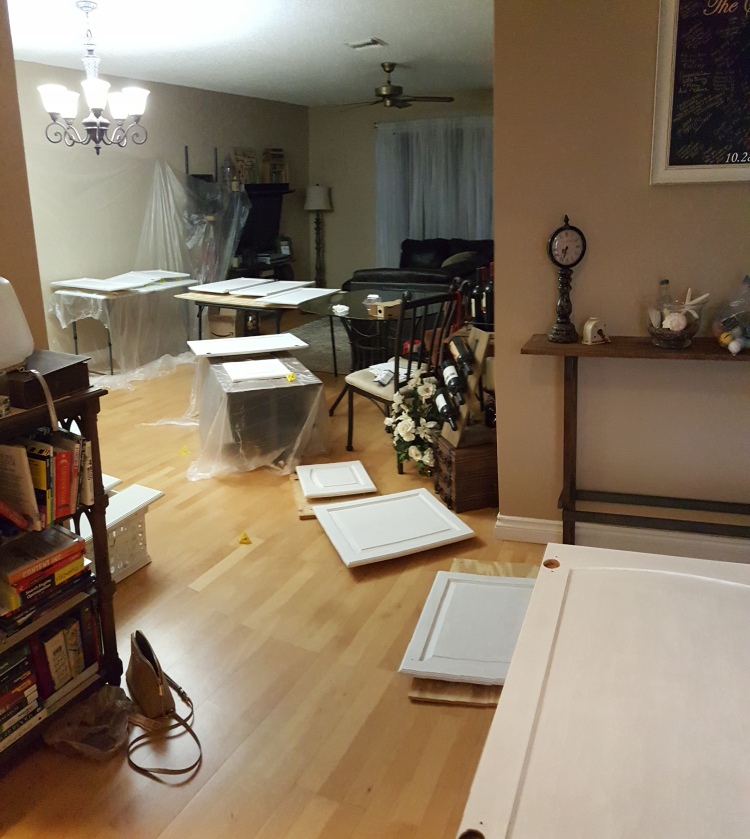
My “Dry Zone” was in the living room. I could have probably done a better job at organizing this zone, but it worked for me.

20170820_111534

As you can see in the photo above, I had some of the cabinets propped up on something other than the painter’s pyramids because I did not buy enough. I had left over plywood so I pounded nails through the wood to make my own props for drying.


Let’s talk about the Sprayer…

At this point, I had a home for every cabinet door and drawer in the dry zone so I was ready to move on to the painting part of this project.

I just have to say that that sprayer I purchased is AMAZING! (My opinion) I was so nervous to buy it because there were mixed reviews BUT…if the instructions are followed there shouldn’t be an issue.

I made more work for myself on this step of the project because…I was afraid to use the sprayer at first so I HAND PAINTED the cabinets for the first TWO coats…what a pain! After I was finished with the second coat I THEN decided to test the sprayer because my cabinets looked streaky and not evenly painted…so I took the time to read the instructions and tested the consistency while the cabinets were drying. Per the sprayer instructions – I had to add water to the paint to make the spray come out flawless so maybe you can see why I was hesitant to use the sprayer originally. I added a little at a time and sprayed on a test object (per the instructions) until I had the right amount of water-to-paint ratio to make a smooth, drip and bump free spray!

MY THOUGHTS: Read the sprayer instructions carefully and take the time to test and get the sprayer right so you don’t have to hand paint anything! It was so fast and EASY. (For the hand painting I used a combo of a small foam roller, paint brushes and sponge brushes…work I didn’t need to do and it didn’t come out as flawless as I was hoping – the ridges in my cabinets didn’t help but flat cabinets may be okay to hand paint)


Let’s Paint!

Hopefully you can skip the hand painting and start out with the hand sprayer. I will briefly explain the steps I took when painting, but I will also describe the way I wish I would have painted them. (See My Suggested Steps)

(My estimated time per door: Hand Paint5 Minutes | SprayerLess than 30 Seconds)

My steps went like this:

Hand painted all the backs, dried, hand painted all the fronts, dried, painted the frame, hand painted the backs again, dried, hand painted all the fronts again, dried, painted the frame again, then decided to use the sprayer for the final coat starting with the backs and finishing with spraying the fronts.

My Suggested Steps:

FIRST COAT PART 1: Paint the backs of all cabinet doors and drawers (to avoid any smudges or marks from the props on the front of them when they dry)

FIRST COAT PART 2: Once the first coat on the back sides are dry take them back out one by one to the paint zone to spray the fronts of all of the cabinet doors and drawers.

INTERMISSION COAT 1: After painting the first coat on the doors and drawers paint the FIRST COAT on the cabinet frames with a combination of whatever works for you, I used a sponge brush, sponge roller and angle brush.

20170820_165841

SECOND COAT PART 1: Once the paint is dry on the front of the doors and drawers, head back to the paint zone (again one at a time this is to avoid any dings) to paint the backs again.

SECOND COAT PART 2: Once the second coat on the backs are dry take them out for the second coat on the fronts.

INTERMISSION COAT 2: After painting the second coat on the doors and drawers paint the SECOND COAT on the cabinet frames again with whatever works for you.

Once the paint is dry, be sure to check the doors, cabinets and the frame all over. If it looks as though you need another coat, put another on. It won’t hurt. It is very important that the sprayer and the paint consistency is perfect before spraying, if it is done right the cabinets will come out looking like they were done by a pro.


Putting everything back together…

Once everything was dried I started adding the hinges one door at a time. I first attached the hinge to the frame then attached the door to the hinge. (I had help from my husband so I didn’t ding the doors while hanging them)


The Finishing Touches

When I was done hanging the doors and attaching the drawers I then added the new knobs!


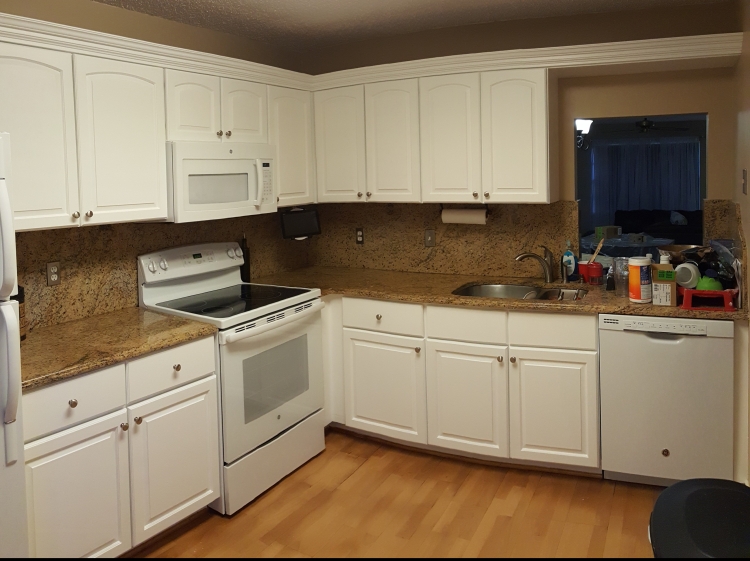
The After!

20170821_183528


I love before and afters…


SO MUCH BRIGHTER! I am very happy with the way my cabinets turned out. The cabinets now stand out from the countertop, backsplash and floors.

I actually like the white on the cabinets because I am able to see if something drips on them. I do not use any chemicals to clean the cabinets either so all I need is water and a paper towel. 🙂

Enjoy your kitchen cabinet makeover!


-A project thought of, is another project to be conquered

Mary

Easy DIY for Extra Hangers

Not much to this post but I thought I’d share anyways!

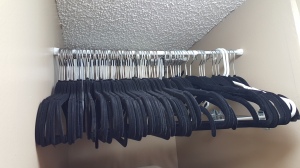
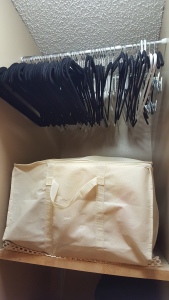
If you are like me you hate having empty hangers lingering on your closet rod sometimes hidden in between clothes! For the longest time I was keeping my extra hangers in a large drawer because I couldn’t seem to find a better home for them. I ended up needing that extra drawer so I started brainstorming on where the hangers could be stored.

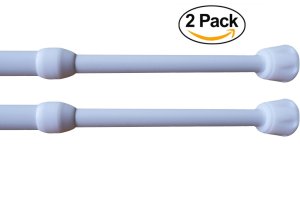
Our house is tight for storage but as I was looking around I found an empty narrow space that could be used. This space in particular was above a shelf in my closet. I immediately thought to use Tension Rods!

If you have a similar space follow the simple steps below:


Step 1: Find an open space where the hangers could be stored


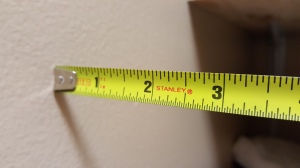
Step 2. Measure the space!


Step 3: Look online or in stores

Before you purchase the rods be sure to measure the space you are planning to hang the rods to ensure the best fit! I like these rods because the are adjustable by just twisting. You don’t have to use Amazon for your purchase…I am just a fan of Amazon Prime…not having to wait in line and in 2 days what I want is at my door! 🙂

 Click Here for the link to the Tension Rods


Step 4: Hang the Rods & Extra Hangers!


That’s it guys! Use your imagination with the tension rods. In the link I provided the photos the seller has posted shows how you can use the rods to hold shoes, wrapping paper,  spray bottles under a sink, etc. Go organize!


A project thought of, is another project to be conquered!

Mary | Mary’s D.I.Y.

Easy D.I.Y. Framing Memories

For this blog post, I was inspired by my grandmother. She, along with my close family members, at times sends me cards, letters, photos, etc. little things that mean a lot to me since I live far away from my loved ones. I am huge on family and not a day goes by that I am not thinking of them. This easy project shows how to keep them close to you.

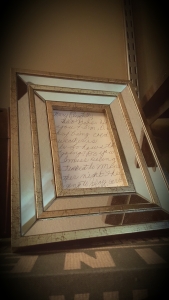
1. Dig through memories. Find that card or memento that has been stored away in a keepsake box for days, months, or years, and get it out.

2015-05-17 12.37.02

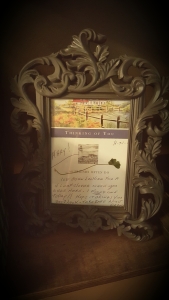
2. Figure out what you want to store your item in. I have many memories helping decorate my house. For example I chose a letter my late great grandmother had written my to fill a frame I had sitting around the house which I had no use for until now.

2015-05-17 12.36.23

I loved this frame I found at goodwill. It was black (didn’t match my décor), but nothing a little spray paint can’t fix! I did not know what to put in it until I found that one item that had to be shown off. For this frame, I have a lovely card from my grandmother which also had a four leaf clover inside that she had found for me to bring me good luck. It’s perfect.

2015-05-17 12.35.49

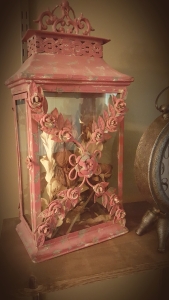
If you do not wish to use a frame, another example is this vintage lantern I found. I use it to keep the first roses I ever received from my then boyfriend-now husband. You can fill a decorative piece with anything!

2015-05-17 12.34.51

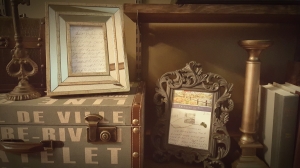
3. Enjoy it! I hope this post gives you inspiration to frame something that means so much to you if you have not done it already. Family means the world to me. Being able to look around my home seeing the mementos that bring great memories, brings me great joy!

2015-05-17 12.38.01

Mary

Easy D.I.Y. Small Pond

Estimated Hours: 4 | Estimated Cost: $40

Supplies used:

Pond Liner, Shovel, Level, 2×4 piece of wood, Water.

I don’t know about you, but I love ponds! Before I started this project my yard was already under construction, but I had planned on putting a small pond in my front yard. For those of you who are thinking about putting your own small pond in, all I have to say for advice is to have fun, because it is an easy DIY project that takes very little time!

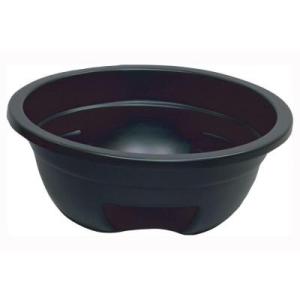
1. First thing is first, map out your landscaping to decide on the location that your pond will be. Please remember to choose a flat or somewhat elevated part of your yard so that heavy rainfall will not effect the beauty of your work by drowning it out. After finding the right spot, decide what size pond you will be using. I would shop around your local home and garden stores to see if any pond liners in particular would be the right fit for your project. I found my liner at Home Depot.

pond liner35 Gallon Pond Liner – $40

The photo above shows the liner I chose…now the fun part starts!

2. Dig! I flipped the pond liner upside down where I wanted my pond to be (since mine is round I was able to do this), I twisted it back and forth a little to make the mark of where I needed to dig. I dug straight down about 2 feet and a couple inches out from the actual mark I made. (Depending on the shape and size of your pond liner you will have to use your best judgement about the shape and size of the hole you are going to dig.) No matter what, make sure the bottom of the hole is level, that is where the 2×4 and the carpenters level come in handy. Put the liner in the hole, place the 2×4 across the top of the pond, then place the carpenters level atop the 2×4 to make sure it is not the slightest bit uneven. Once you find the pond liner is level, use the loose dirt you had dug up to fill in the empty space around the liner until it is secure and unable to wobble or move.

3. Fill’er Up. Get the hose and start filling the pond with water. While you are waiting for the pond to fill up, it is a good time to clean up your work area or go get a glass of water.

pondfilling

4. Finish the look. What do you want to put around your pond? Use your imagination. I did not have access to rocks or pretty stones to layer around the outer edge of my pond so I ended up using some extra quick set cement to free form rocks that fit my pond perfectly.

pondrocks

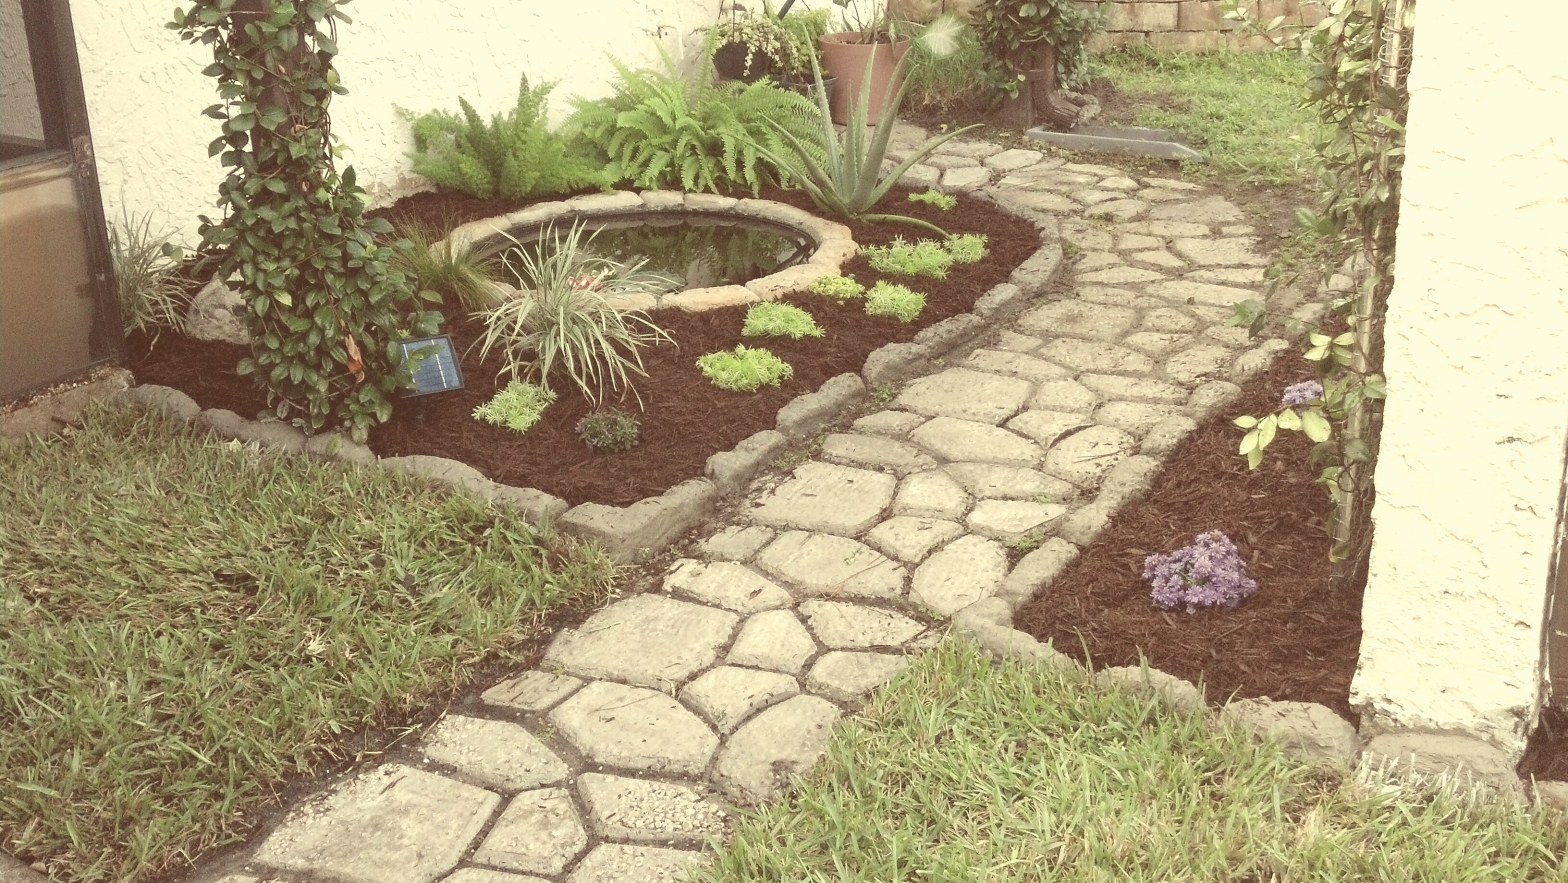
I love getting to see my small pond each day I leave or walk into my home. I hope the visitors I get enjoy the view just as much as I do 🙂

pondedited

A project thought of, is another project to be conquered!

Mary | Mary’s D.I.Y.

Easy D.I.Y. Raised Flowerbed

Estimated Hours: 4 | Estimated Cost: $200

Supplies Used:

Protective Eye wear, Chisel, Hammer, Liquid Nails, Caulking Gun, Shovel, Flowers, Dirt, and the Pavers of course.

Alright, this budget may seem a little pricey but it would have been way more if I did not use the Lowe’s Coupon I received in the mail which brought the cost down below $200! This project was relatively easy. I think the hardest part was finding a friend who was willing to help me haul the paver stones home from Lowe’s, everything else was a breeze. Keep in mind you could always rent a pick-up truck from Home Depot, Lowe’s, or U-haul Etc.

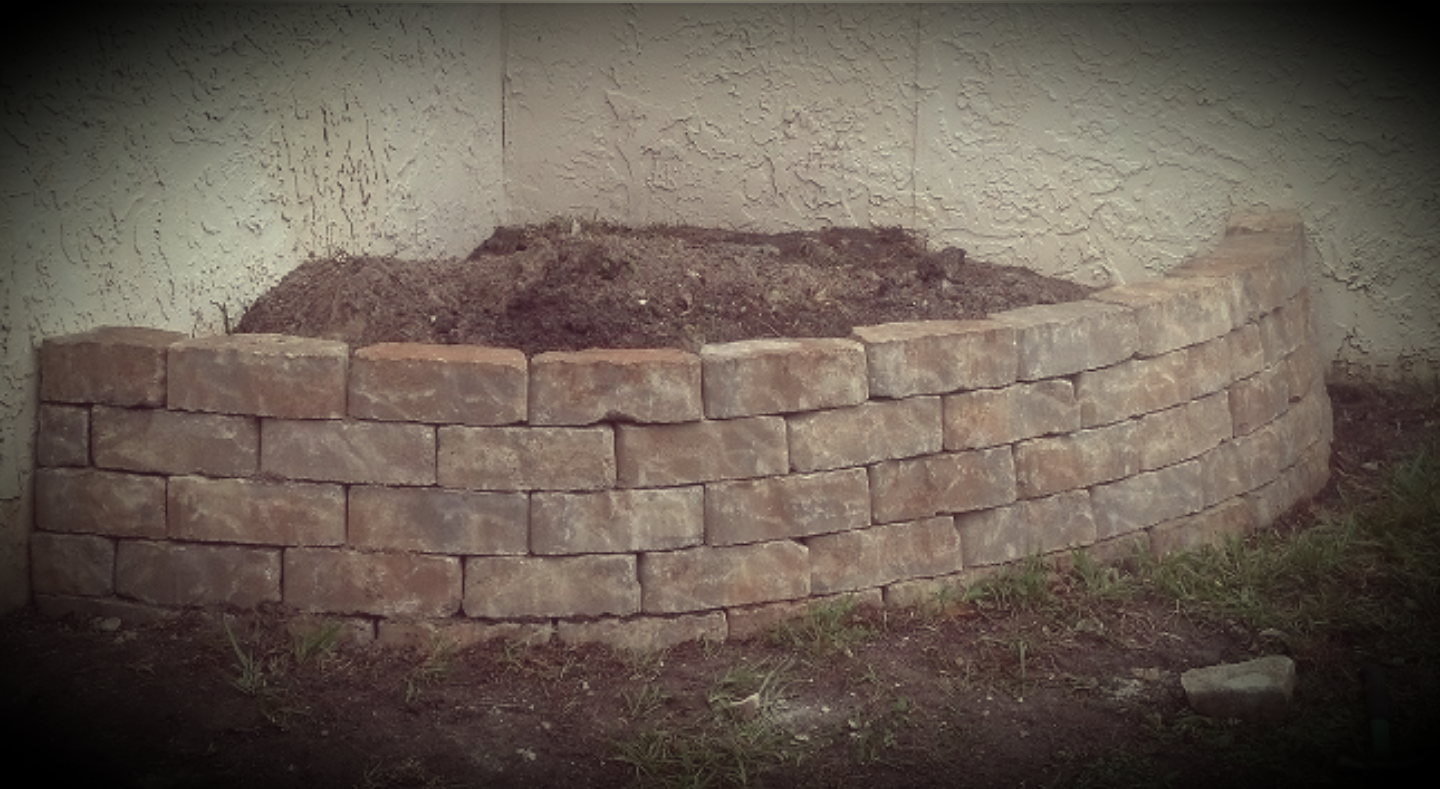
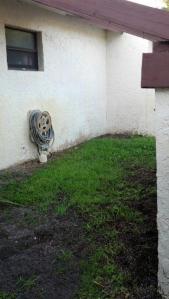
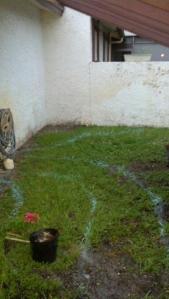
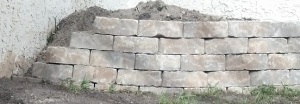
I started this project by spray painting the line on the ground where the wall of the flowerbed was going to be. Once my line was down I started digging! I made the depth of the hole about 3/4 the height of one paver so the base would be sturdy. After the prepping was finished all I had to do was start stacking.

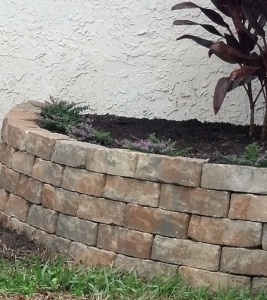
I placed the first layer of pavers down then applied the Liquid Nails to the top of the stones in a wavy/zig-zag line. Once that was complete I staggered the joints on the second layer of pavers, and so on, until the wall was the height I wanted it to be. Meaning, if you did not already know, the center of the paver being laid down needs to be in the center of the crack (joint) of the two pavers from the layer below. Confused? Take a look at the photo! 🙂 Stacking the stones this way creates the perfect support for the wall.

Untitled

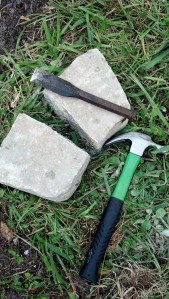
As you have seen in the photo above I left the ends out on purpose so I could measure the pavers perfectly instead of messing up pre-cutting all of the ends. I do not have a stone saw so I used the super old-school way of doing things. The Hammer and Chisel Method. This was my first time cutting stones like this but I have to say I actually had fun doing it! So, if it was not already clear, I measured the gap between the wall and the paver on the second layer, cut the paver, put liquid nails down, then stacked the cut paver…I kept doing this until I got to the top.

IMG_20131104_135211_409

This was the only chisel I had at home. You could definitely use a wider one!

Untitled.jpg2

After the wall was complete I finished by filling the flowerbed with dirt the rest of the way to the top. As I mentioned in my last post about the cement walkway, I used the dirt I dug up from that project to start the fill for my raised flowerbed. If you do not have dirt already available you can easily buy bagged dirt from a garden center at Lowe’s, Home Depot, Walmart or Target. I had even more extra dirt from digging the hole for my little pond which you will see in my next post. 🙂 I would love for you to follow my blog, if you haven’t already, to see my future posts. Also, please share with any friends you think may be interested.

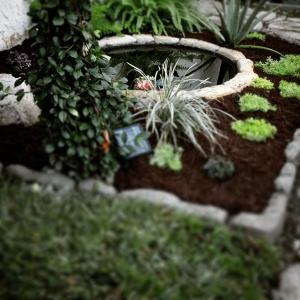
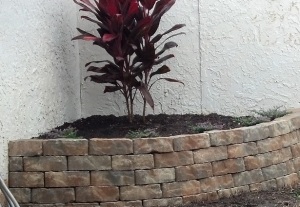
I stared out with the plants you see below but ended up eventually changing them out to pretty flowers with a lot more color. (Mulch was not added yet when I took this photo)

Untitled.jpg1

Untitled.jpg3

I hope this raised flowerbed I made gives you some creative ideas for filling in those awkward spaces in your yard. Oh, P.S. I rarely get any weeds in this flowerbed, to me, that is definitely an additional benefit to a project like this!

A project thought of, is another project to be conquered!

Mary | Mary’s D.I.Y.

Easy D.I.Y. Cement Walkway!

Estimated Hours: 8 | Estimated Cost: $50

Hey guys! This is my first time blogging, so I figured what better thing to blog about than my many projects around the house. One of the first projects I started when I bought my first home was this (little) walkway in my (little) front yard. I didn’t have much space to work with so I just sat down one day and threw together a rough sketch of what was to fill the ugly, boring, non-welcoming wannabe yard! Here is that eyesore…

ResizedImage_1423101891892

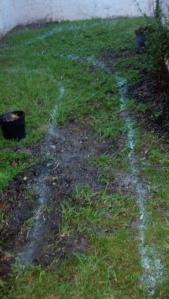
Clearly, I was not going to be OK with that so I got the spray paint out to outline!

ResizedImage_1423101978042 ResizedImage_1423102030683

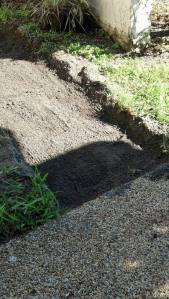
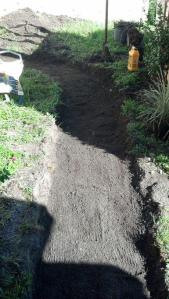
My next step was to dig out and level the walkway path…

ResizedImage_1423101979265 ResizedImage_1423102032518

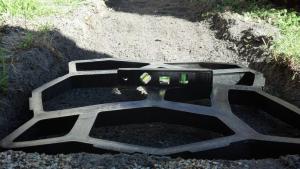
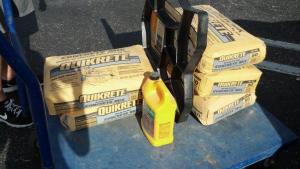
I made sure the mold I chose fit the space, and checked to see if it was actually level… all of my supplies were very inexpensive too. I used Quikrete (about $4/50lb bag) it sets pretty quickly which is perfect for the mold (about $15).

ResizedImage_1423101979916 ResizedImage_1423102033032

I poured the Quikrete into the cement mixing container ($6) and started to add a small amount of water.

*Mix as you add the water, making sure not to use too much. You want the cement not too watery and not too dry…you will know when it is the perfect consistency!

The instructions on the mold were…

1. Fill (Fill the mold with cement using a shovel)

2. Smooth (Smooth the cement over the top of the mold being sure it is all filled in)

3. Remove (Remove the mold right away, if your cement is too watery I would wait a minute or two.That’s why it is important to make sure it is not too watery)

4. Rotate and Repeat (Rotate the mold so the pattern looks random. Repeat with the Fill, Smooth, and Remove)

Untitled

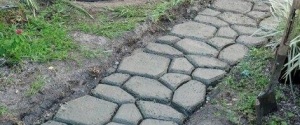
I love this pattern. There are different patterns you can choose from, but this particular look was just what I was looking for!

I would love for you to follow my blog, if you haven’t already, to see my future posts. One of my forthcoming posts will be explaining how I used the dirt I dug up from this project to fill the raised flower bed I made from using pavers. I cannot wait to show you guys everything I have done to make my little yard a cozy and happy space!

A project thought of, is another project to be conquered!

Mary | Mary’s D.I.Y.